Outlet, Switch, and Hidden-Service Pre-Check Checklist
A conservative pre-check for deciding whether outlet, switch, plumbing, exterior-wall, heat, cable, or utility clues should move a wall task to Learn first, Prep first, Stop, or Ask.
Decision flow
Work through the groups in order. If any stop condition appears, use the Stop or Ask lane instead of continuing through the checklist.
A reviewed checklist means ready for the next decision, not permission to drill, mount, patch, paint, or skip product instructions or qualified review.
Interactive decision flow
Choose the current lane before the next step
Review the groups in order. A checked item means reviewed, not permission to drill, mount, patch, or repair.
Object consequence
Name what is being hung, mounted, drilled, repaired, or affected if the job fails.
Wall type
Decide whether the wall context is simple enough to keep planning or uncertain enough to learn first.
Wall condition
Look for visible wall or finish conditions that should change the small-DIY decision.
This checklist has no wall-condition item. If wet, soft, damaged, or non-cosmetic conditions apply, use Stop or Ask.
Hidden services
Check whether the area may involve electrical, plumbing, gas, water, cable, utility, or heat risk.
Fastener / support
Match the object, wall, support evidence, fastener choice, and product instructions before choosing hardware.
This checklist has no fastener/support item. If hardware or support evidence matters, use Learn first or Ask.
Layout / measurement
Plan placement, photos, measurements, access, cable route, and obstacles before any permanent step.
Stop decision
Choose the conservative lane when a stop condition, high consequence, or responsible-review need appears.
Your current lane
No lane yet
Start with object consequence, then work through wall type, condition, hidden services, support, layout, and stop decision.
Complete the required checks, or choose Stop or Ask if a stop condition appears. The lane is a decision prompt, not permission.
- Your lane
- No lane yet
- Reason
- No group has been reviewed yet.
- What to gather
- Start with object consequence, wall type, condition, hidden services, support, layout, and stop signals.
- What to read next
- Review the grouped checklist signals before choosing a next step.
- Stop condition
- Any Stop or Ask signal, high consequence, hidden-service concern, damaged wall, or unclear support overrides Try.
This result is a planning prompt. It is not permission to drill, mount, repair, hide damage, or skip product instructions or qualified review.
Visual notes
Helpful reference images
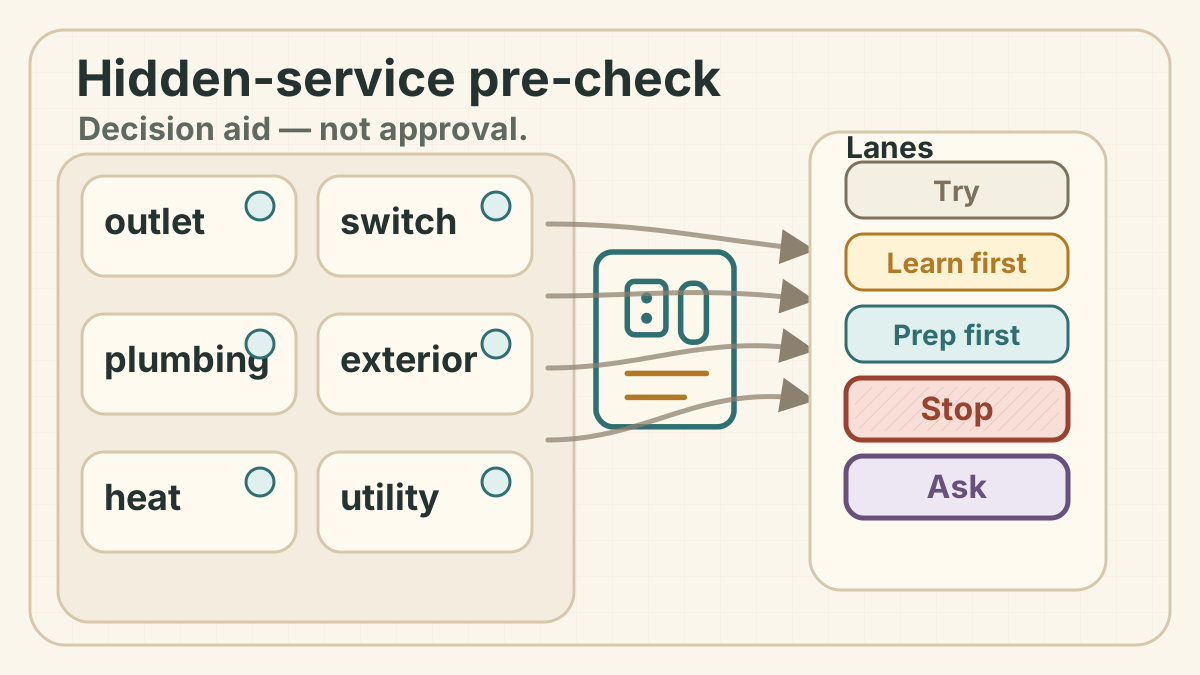
Source and rights: original-code SVG details
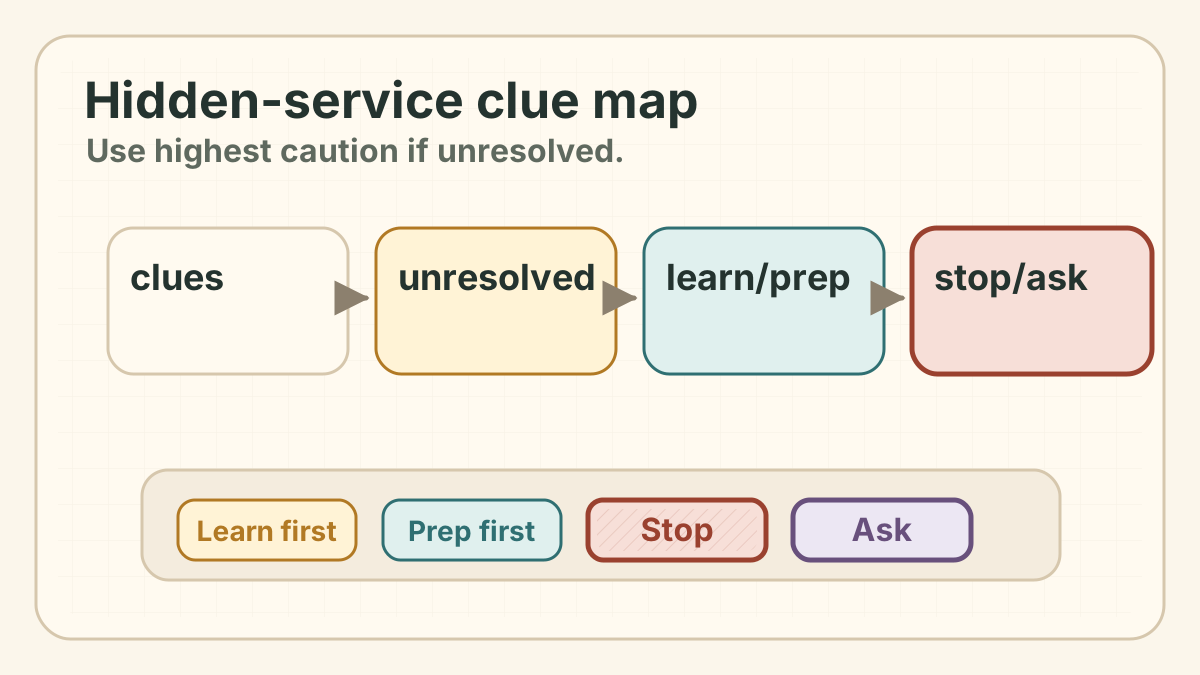
Source and rights: original-code SVG details
Supporting reads
Read the decision context before you buy or drill
Can I Drill Above an Outlet?
Do not treat the space above an outlet as automatically low-risk. Wiring can run vertically, horizontally, or through nearby framing depending on the wall, age, remodel history, and installation. If the wall area is near electrical devices, use appropriate checks only to reduce uncertainty; if electrical risk still remains, stop and ask instead of drilling.
Can I Drill Near a Light Switch?
A light switch is a strong clue that wiring may be nearby, but the visible switch does not tell you the exact path. If the planned hole is close to a switch, the wall is unknown, or the object has any meaningful failure consequence, do not rely on guesswork.
How Far From an Outlet Is Safer to Drill?
Do not use a fixed distance as permission to drill near an outlet. Distance can reduce concern only when combined with wall type, room context, object consequence, scanner behavior, and a clear stop rule. If the page cannot support an exact clearance claim from authoritative sources, implementation should avoid exact numbers.
When Not to Drill Into a Wall
Do not drill when the wall condition, hidden-service risk, support requirement, surface material, or failure consequence is unclear. A good wall decision sometimes means choosing tape, a different location, more prep, or qualified help instead of a hole.
How to Tell What Kind of Wall You Have Before Drilling
Use visible wall clues to slow down before drilling—not to confirm wall type or clear the wall. Drywall, plaster, masonry, tile, and layered walls need different decisions.
Stud Finder Beeping Everywhere? False Positives Before You Drill
A stud finder reading is a clue, not drilling clearance. Learn when inconsistent readings across repeated scans, broad alerts, or model-specific warnings mean stop, check the wall and room context, and reassess.
Next step
Related guides and checklists
How Far From an Outlet Is Safer to Drill?
Do not use a fixed distance as permission to drill near an outlet. Distance can reduce concern only when combined with wall type, room context, object consequence, scanner behavior, and a clear stop rule. If the page cannot support an exact clearance claim from authoritative sources, implementation should avoid exact numbers.
When Not to Drill Into a Wall
Do not drill when the wall condition, hidden-service risk, support requirement, surface material, or failure consequence is unclear. A good wall decision sometimes means choosing tape, a different location, more prep, or qualified help instead of a hole.
How to Tell What Kind of Wall You Have Before Drilling
Use visible wall clues to slow down before drilling—not to confirm wall type or clear the wall. Drywall, plaster, masonry, tile, and layered walls need different decisions.