repairs / walls

How Far From an Outlet Is Safer to Drill?

Do not use a fixed distance as permission to drill near an outlet. Distance can reduce concern only when combined with wall type, room context, object consequence, scanner behavior, and a clear stop rule. If the page cannot support an exact clearance claim from authoritative sources, implementation should avoid exact numbers.

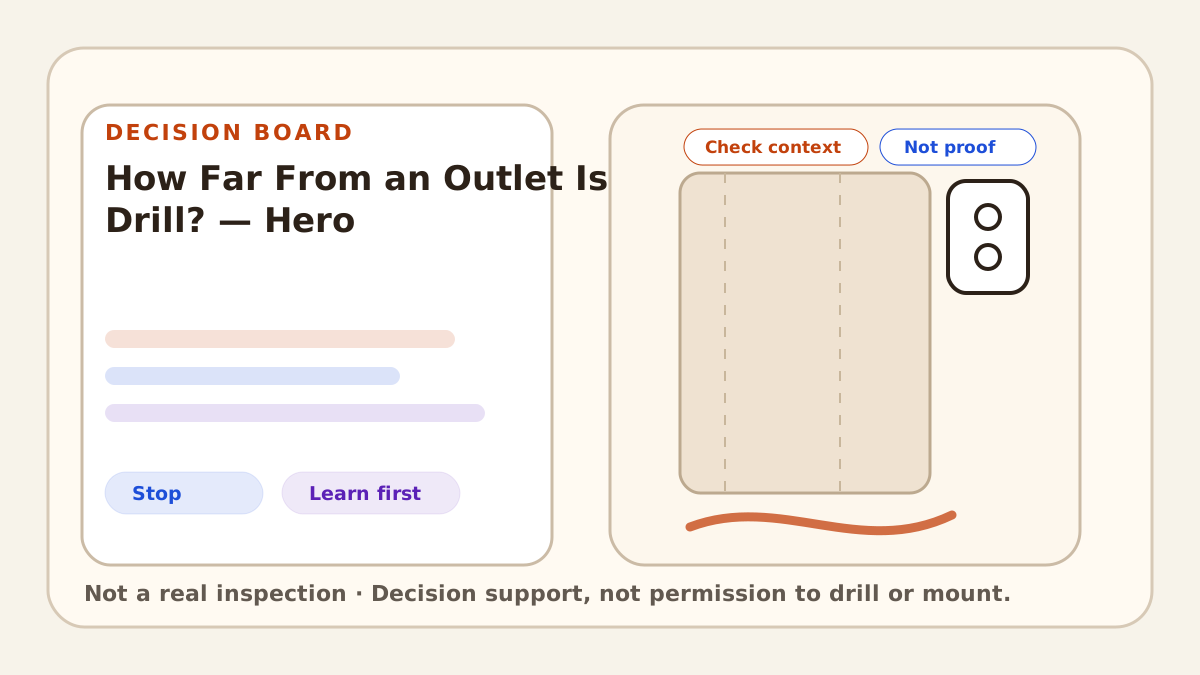
Illustrated outlet distance decision board showing that distance alone does not prove a permission-to-drill spot.

Decision summary

Decision-first check

Do not use a fixed distance as permission to drill near an outlet. Distance can reduce concern only when combined with wall type, room context, object consequence, scanner behavior, and a clear stop rule. If the page cannot support an exact clearance claim from authoritative sources, implementation should avoid exact numbers.

Best for

  • Readers deciding whether an outlet or switch-adjacent area should move to stop, learn-first, or ask.
  • Low-consequence layout questions where wall/device context still needs a conservative check.

Not for

  • Electrical work, hidden-wiring location, cover removal, device-box probing, or any task needing qualified trade review.
  • Heavy, overhead, wet, damaged, or unknown wall conditions.

What can go wrong

  • A hidden-service strike, wall damage, false confidence from distance, or a high-consequence object in the wrong place.

Primary next action

Before You Drill Into a Wall: Beginner Checklist

A stop-first checklist for wall type, placement, fastener choice, and measurement before making the first hole.

Use this as a planning step before buying or drilling.

Open checklist

Quick path

Check, read, then stop or ask when the lane is unclear.

What to check first

  • Start with: Readers deciding whether an outlet or switch-adjacent area should move to stop, learn-first, or ask.
  • Watch for: A hidden-service strike, wall damage, false confidence from distance, or a high-consequence object in the wrong place.

What to read next

  • Checklist: Before You Drill Into a Wall: Beginner Checklist
  • Related guide: How to Tell What Kind of Wall You Have Before Drilling

When to stop or ask

  • Stop when the reader is looking for a magic distance, the wall is near electrical/plumbing/gas/water risk, or the object/failure consequence is more than cosmetic.
Short answer

There is no universal distance this site should present as safe. Use distance as one input.

Why exact numbers can mislead

Explain that wall construction and wiring paths vary, and a generic number cannot see behind the wall.

A better decision sequence

Choose another location if possible; name the object; check wall condition; scan with caution; review device proximity; stop on uncertainty.

Lower-risk examples without permission language

Low-consequence decor far from visible devices may continue to planning only after checks; those checks do not clear a drilling location.

When distance does not help

Electrical alerts, damp walls, bathrooms/kitchens, heavy objects, overhead locations, unknown wall type, and old repair zones.

Stop rules

Stop when the reader is looking for a magic distance, the wall is near electrical/plumbing/gas/water risk, or the object/failure consequence is more than cosmetic.

Review-only checklist

Planning checklist for this decision

Use these to organize the next decision. They do not approve drilling, mounting, patching, painting, lease decisions, or product choices.

Evidence: researched

Use the hidden-service pre-check

For outlets, switches, plumbing-adjacent walls, exterior walls, heat sources, or utility clues. It does not locate hidden services.

Next step

Related guides and checklists

toolsstud-finders

Stud Finder Beeping Everywhere? False Positives Before You Drill

A stud finder reading is a clue, not drilling clearance. Learn when inconsistent readings across repeated scans, broad alerts, or model-specific warnings mean stop, check the wall and room context, and reassess.

Visual notes

Helpful reference images

Illustrated outlet distance decision board showing that distance alone does not prove a permission-to-drill spot.
Distance can change risk, but it does not confirm what is behind the wall.
Source and rights: original-code SVG details
Project-created original-code SVG decision visual only; not a real photo, product test, service claim, hidden-condition proof, or permission to drill or mount.Credit: Original SVG visual created for Before You Drill.License/permission: Before You Drill original-code visual rights note
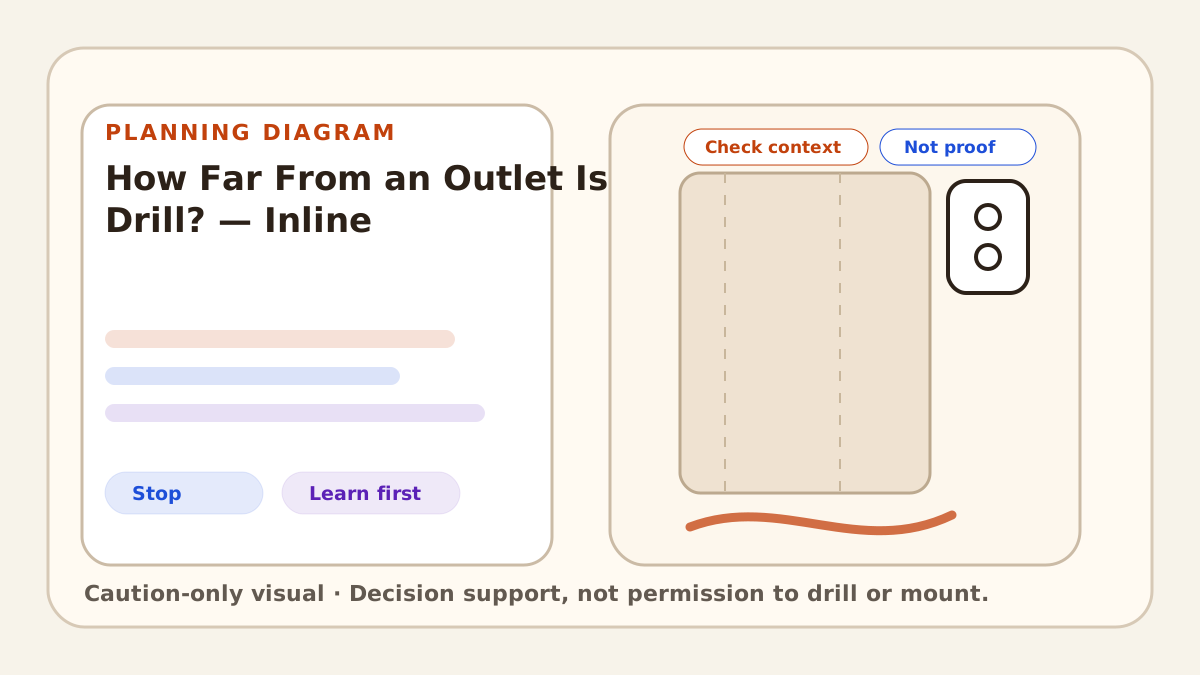
Decision rail showing outlet distance as one caution signal among wall type, route uncertainty, and stop rules.
Use distance as one clue; wall type, fixture context, and uncertainty still control the decision. It is a planning aid, not permission to drill or mount.
Source and rights: original-code SVG details
Project-created original-code SVG diagram only; not a real photo, product test, service claim, hidden-condition proof, or permission to drill or mount.Credit: Original SVG visual created for Before You Drill.License/permission: Before You Drill original-code visual rights note

Method notes

What was tested

  • No hands-on testing, jobsite inspection, product ranking, service estimate, or repair-outcome proof is claimed for this P2-345F local content batch.

What was researched

  • Do not implement with exact distance claims unless official, context-specific, reviewed sources support the wording. Default to conservative no-clearance language.
See editorial standards

Conservative boundary

Conservative boundary

  • Stop when the reader is looking for a magic distance, the wall is near electrical/plumbing/gas/water risk, or the object/failure consequence is more than cosmetic.