Sort the hole before choosing the repair
A tiny nail hole, a shallow dent, an anchor tear-out, and a through-hole are different decisions. Start with wall condition and edge stability before choosing filler.
Start by asking what caused the damage, whether the wall is still firm, whether the edges are stable, and whether the final finish will be judged up close or from across the room.
If the wall is dry, firm, stable, visible, and low-consequence, a small cosmetic repair may stay in beginner territory. If the edge is loose, the wall is soft, or the damage keeps expanding, stop.
Small does not mean simple
A small-looking mark can be low risk, or it can be the visible edge of a bigger wall-condition problem. The difference is not only diameter; it is dryness, firmness, edge stability, cause, location, and finish expectation.
A tiny nail hole in sound drywall is a different decision from an anchor tear-out, a crumbling edge, a recurring crack, or a mark tied to moisture or movement.
When DIY is usually reasonable
DIY is usually more reasonable when the damage is dry, stable, easy to see, away from high-consequence areas, and clearly cosmetic.
It also helps when the finish expectation is realistic. A practical repair may look acceptable in normal room light without being invisible from every angle.
Small-hole triage matrix
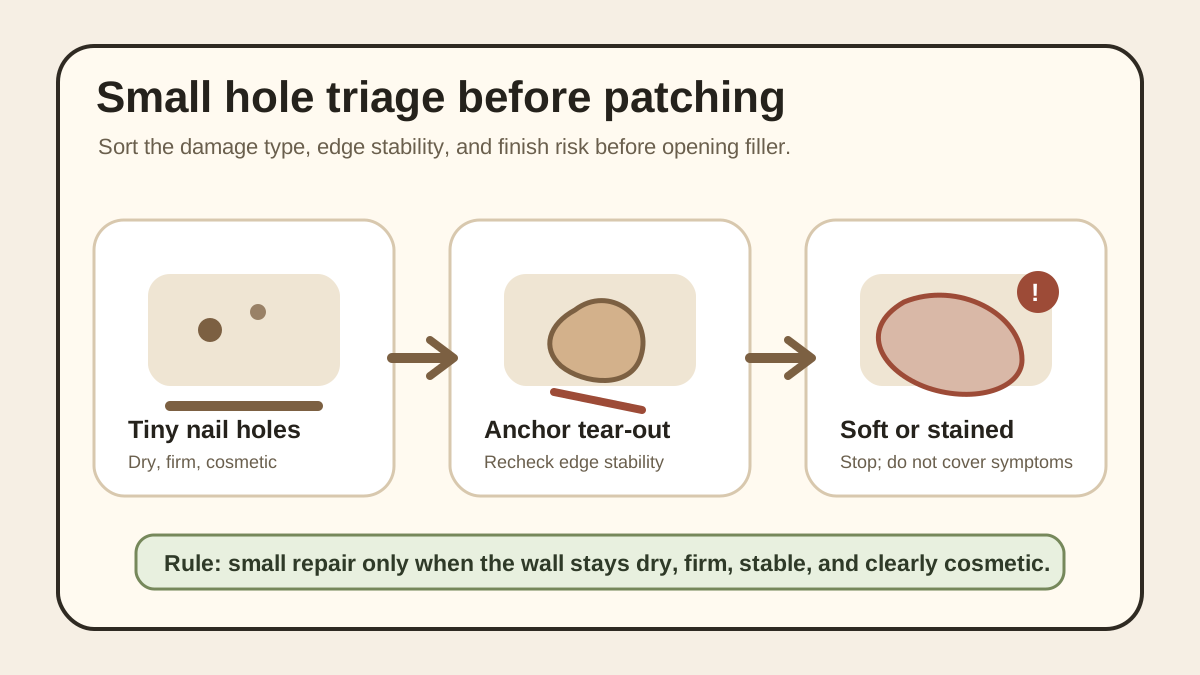
Tiny nail holes and shallow dents on a dry, firm, stable wall can stay in beginner cosmetic-repair territory if the finish expectation is realistic.
Anchor tear-outs, torn paper, rough edges, or oversized holes should trigger a reassessment before more hardware or filler. The wall condition changed, not just the hole size.
A through-hole or missing backing may need a product-specific patch or mesh approach, but this guide should not turn into a full cut-out or backer-board tutorial.
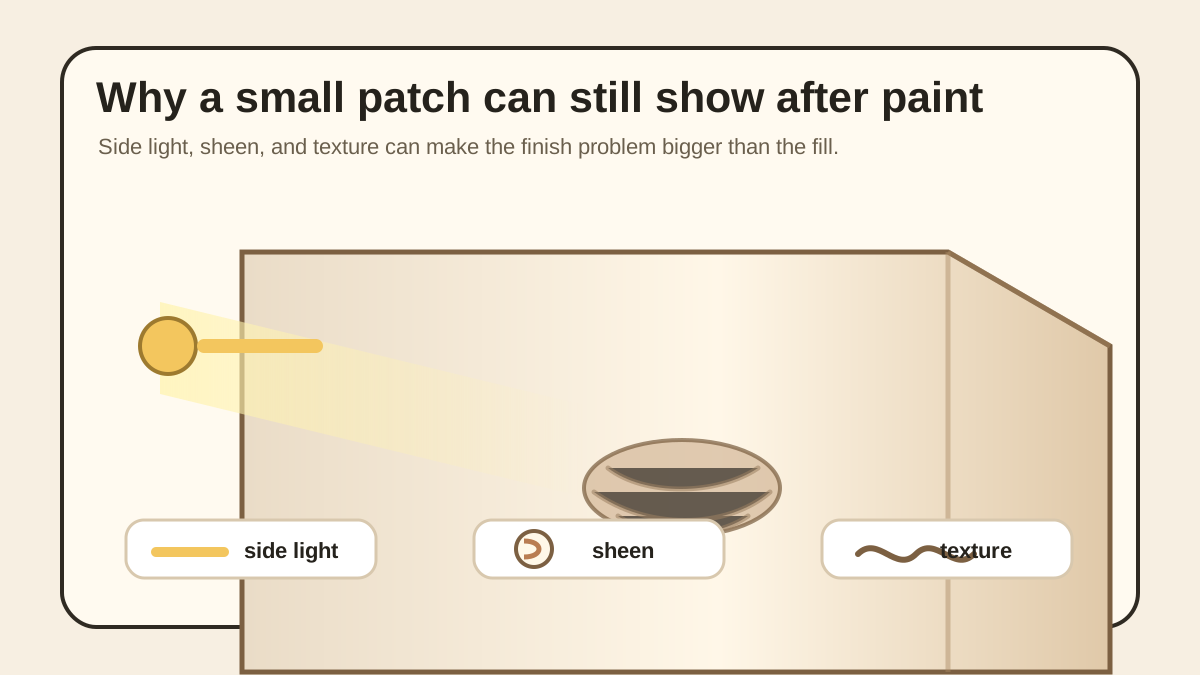
Smooth eye-level walls, strong side light, and visible sheen can make finish risk bigger than repair risk. In that case, move to the touch-up paint guide before painting.
Nail holes, anchor tears, dents, and larger openings
A tiny nail hole often needs a different level of effort than an anchor that tore out a rough edge. A dent may be mostly a surface-fill problem, while a hole with missing backing may need support before filler makes sense.
Mesh, a patch kit, or backing can be relevant when filler alone has nothing stable to hold against, but exact size and method must follow the product source. This guide should not teach a full cut-out or backer-board repair in this pass.
Do not let the word small hide the real issue. If the edges are loose, the surface flexes, or the hole keeps getting wider as you touch it, the repair is no longer a simple dab-and-paint decision.
Check the wall condition before opening filler
Look and feel around the damaged area before applying anything. The wall should feel dry, firm, and stable. Watch for staining, bubbling paint, musty odor, soft drywall, crumbling edges, repeated cracks, or a damp feel.
Check the cause, edge condition, wall feel, finish visibility, product fit, and nearby hidden-risk context before opening filler.
If any of those signs are present, stop before patching. Cosmetic filler can hide a symptom without addressing the reason the wall failed.
Patch now, repaint later, or leave for review
Patch now when the problem is clearly cosmetic and the surface is stable. Repaint later when the fill is simple but the color, sheen, or texture match is uncertain.
Document first when the repair is tied to move-out, landlord review, or a shared property question. Stop when the wall condition is uncertain or when the repair would expand into a larger finish problem.
Finish risk can be bigger than hole size
A tiny repair can stand out on a smooth wall, in strong side light, near eye level, or on paint with visible sheen. The hole may be small, but the finish area can become much larger after sanding and paint.
Sanding can widen the visual repair area and create dust; keep sanding minimal, controlled, and tied to product guidance.
Before you start, decide whether you can accept a visible practical repair. If the wall needs to look highly finished, the paint and texture plan matter as much as the filler.
Common failure scenarios
Patching over damp, stained, or mold-suspect drywall can hide the symptom instead of addressing the wall condition.
Sanding can turn a small repair into a larger visible area, especially on a smooth wall or in strong side light.
Filler can fail when the edge is loose or the hole has no stable backing. An anchor tear-out should not be treated like a normal nail hole.
Painting before deciding whether texture and sheen will show can make the repair more noticeable than the original mark.
Move-out context: document, do not promise outcomes
For move-out prep, photograph the wall before touching it and separate cosmetic marks from possible wall-condition issues. The goal is better decision-making, not a promise about deposits, landlord acceptance, or lease responsibility.
If a small repair could become more visible than the original mark, it may be better to document and review before making the wall harder to explain.
Stop rules before you patch
Do not patch over wet, soft, stained, mold-suspect, crumbling, repeatedly cracked, or spreading damage. Do not treat wall movement, water damage, unknown wall material, electrical risk, or plumbing risk as a cosmetic repair.
If the wall is stable and the problem is cosmetic, compare patching materials before buying. If the filler is done and the finish is uncertain, move to the touch-up paint guide before painting the whole spot.
When to move to another guide
Use the patching-materials guide when the main question is spackle, joint compound, or patch kit choice.
Use the touch-up paint guide when the fill is simple but the paint, sheen, texture, or lighting may make the repair stand out.
Use the anchor-mistakes guide when the damage came from a failed anchor, torn paper, an oversized hole, or pressure to use larger hardware.
Use the wall-type guide when the wall material is uncertain before any future drilling or repair decision.