Color is only one part of a touch-up
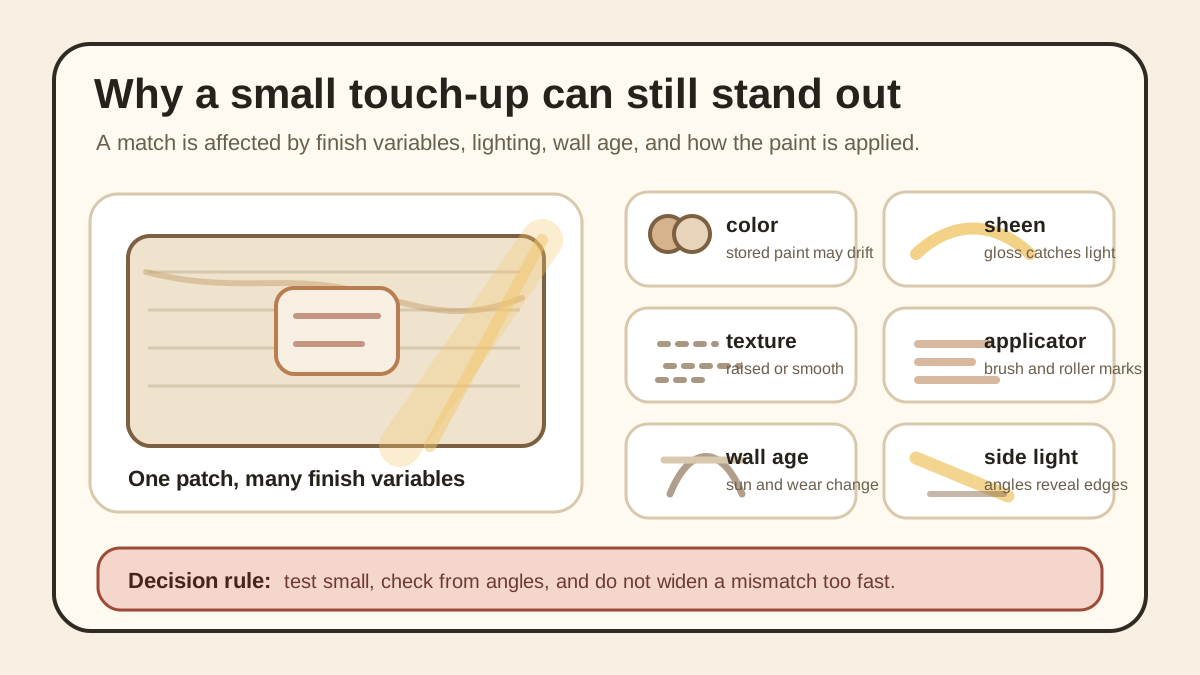
A touch-up is judged by color, sheen, surface texture, applicator marks, wall age, repair size, and light. That is why a close color can still show.
Flat or matte finishes may be easier to touch up than glossier finishes, but this is a tendency, not a promise.
Before opening paint, decide whether you are fixing a minor mark, finishing a patched area, or trying to hide a wall condition that should not be painted over.
Why a close color can still look wrong
A paint match can look close in the can or on a small sample and still flash on the wall. Side light, glossy spots, smooth patch edges, and old surrounding paint can make the touch-up easier to see.
This is why a small touch-up is more predictable on a low-visibility wall than on a smooth, eye-level wall in strong daylight.
Check the label before you trust the leftover can
If you have leftover paint, check the room, color name or code, sheen, product line, and date if available. A can from a different room or a different sheen should be treated as uncertain.
Also check the condition of the paint itself. If it was poorly sealed, stored badly, unlabeled, or separated in a way you cannot confidently resolve, do not treat it as a guaranteed match.
Check the wall before you paint
Paint should not be used to hide wet, soft, stained, mold-suspect, bubbling, flaking, or crumbling wall material. If the surface suggests moisture or a deeper wall problem, stop before thinking about color.
Patch areas should be clean, dry, smooth enough for the finish goal, and dust-free before paint. Primer can help with uniform finish when product and coating guidance call for it, but do not turn primer into a perfect-match promise.
If the wall was recently patched, make sure the repair is dry, smooth enough for the finish goal, and ready for the primer or paint step according to the product guidance.
Test small and look from more than one angle
When the wall condition is safe and the touch-up still seems reasonable, test in the smallest practical area first. Let it dry according to the product guidance before deciding whether it blends.
Check the spot straight on, from the side, in daylight, and under the room lighting you normally use. A touch-up that disappears from one angle can still flash from another.
Brush, roller, and texture matter
A brush mark on a rolled wall can stand out even when the color is close. A smooth patch on a textured wall can also catch light differently.
Match the application method and texture as closely as the job reasonably allows, but do not keep widening the repair if the first touch-up makes the spot more visible.
Spot touch-up, repaint a larger area, or leave it alone
A spot touch-up is more reasonable when the mark is small, the paint and sheen are known, the wall is low-visibility, and a perfect finish is not required.
Larger areas, mismatched finishes, or visible edges may need broader blending or repainting rather than a tiny spot.
A larger controlled repaint may be calmer when several small spots sit on the same visible wall plane. Leaving the spot alone or documenting it may be better when the touch-up is likely to create a louder mismatch.
Move-out context: document before changing the wall
For move-out prep, take photos before touching the wall and separate scuffs, holes, stains, and old repairs into different decisions. This guide can help with finish risk, but it cannot predict deposit outcomes or interpret a lease.
If a touch-up could make the wall look worse, documentation and review may be a safer next step than adding more paint.
Stop rules and next steps
Stop for wet, soft, mold-suspect, stained, bubbling, flaking, crumbling, or repeatedly damaged walls. Stop if older paint may involve lead concerns, if the coating is unknown, or if the repair area keeps growing.
If the wall still needs filling, go back to the patching-material guide. If the wall has a small hole or dent, use the small drywall hole guide before deciding how much paint work makes sense.